
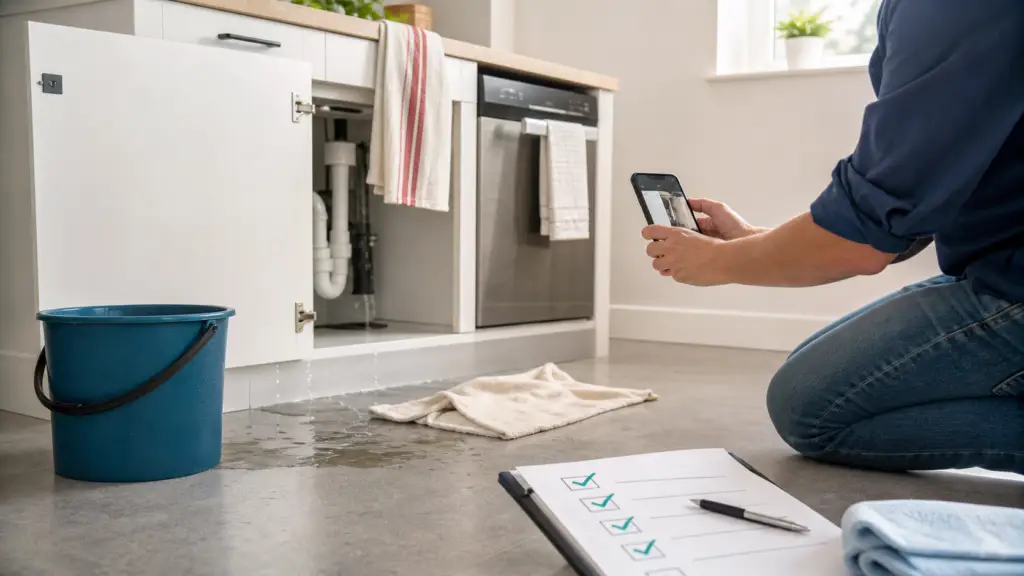
You walk into the kitchen and feel water under your socks. Or you notice a dark patch spreading across the ceiling. Maybe the washing machine overflowed, a pipe burst, or a slow drip finally became impossible to ignore.
A water leak can make every decision feel urgent. Where is it coming from? Is the ceiling safe? Should you call insurance? Is water hiding behind the wall?
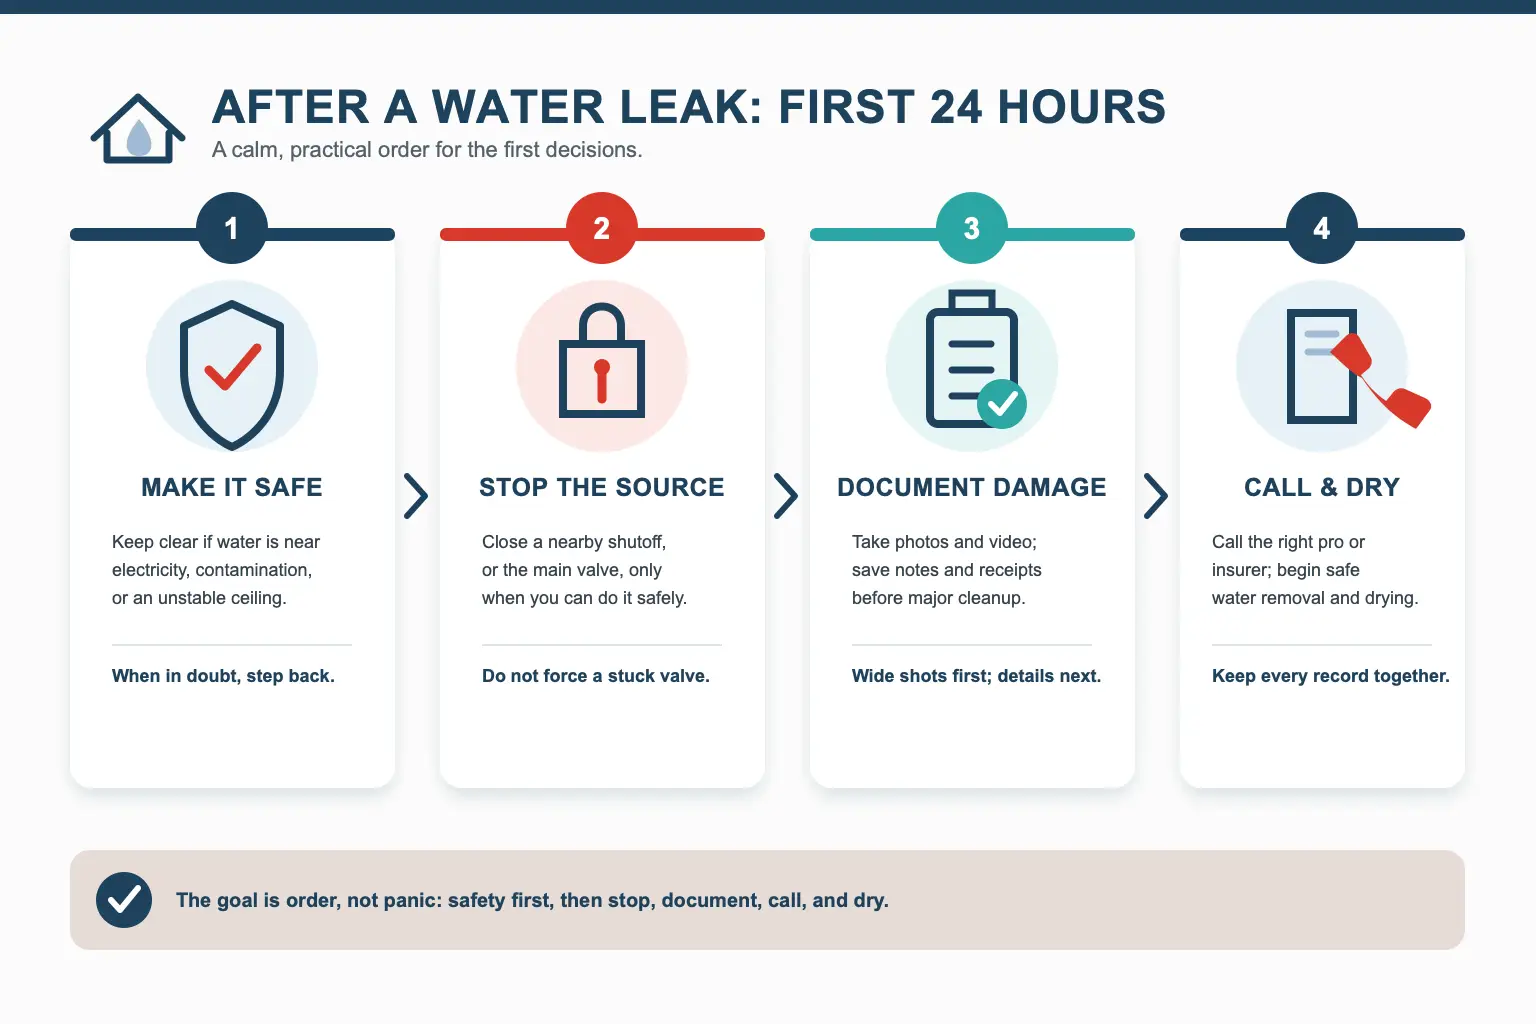
Take a breath. In the first 24 hours after a water leak, your job is not to diagnose every problem or approve every repair. It is to act in the right order: make the area safe, stop more water if you can, document what happened, contact the right people, and begin drying what can be dried safely.
> What should you do after a water leak? Make the area safe, stop the flow if you can do it safely, photograph and record the damage, contact your insurer when the loss may be significant, and start drying as soon as the area is safe.
If water is rising, sewage may be involved, the area seems electrically unsafe, or someone could be in immediate danger, step back before you clean. Call emergency services, your utility provider, or a qualified professional when the situation is beyond a small, safe household leak.
First, make sure the area is safe
Before you reach for towels or a wet vacuum, pause and look around.
Water and electricity are a dangerous combination. If water is near outlets, appliances, light fixtures, an electrical panel, or power cords, treat the area carefully. The CDC’s electrical safety guidance says not to enter standing water to reach a main power switch and to call an electrician when access is unsafe. It also warns against using electric tools or appliances while standing in water, and says wet electrical equipment should be inspected before power is turned back on.
Leave the affected area and get qualified help if you notice sparking, buzzing, a burning smell, water entering through a light fixture, a ceiling or wall that appears unstable, or water near major equipment such as a furnace, water heater, electrical panel, or large appliance.
If the water may include sewage, floodwater, or water from outside the home, treat it differently from a clean supply-line leak. CDC cleanup guidance notes that sewage and floodwater can create additional hazards and may require protective gear.
This is the first dividing line:
- If the area seems electrically unsafe, stay out and call for help.
- If the water may be contaminated, avoid casual cleanup and use appropriate protective steps.
- If the leak is small, clean water, and away from electrical hazards, you can usually begin with simple containment and documentation.
Stop the water if you can do it safely
Once immediate hazards are under control, stop or slow the source.
For a leaking toilet, sink, dishwasher, washing machine, refrigerator line, or water heater connection, look for a nearby supply valve. Close it using the handle or lever without forcing a stuck or badly corroded valve. If you cannot find a local shutoff, the main water shutoff may stop more water from entering the house.
Do not take apart plumbing, move heavy appliances, cut into walls, or stand in wet areas near electrical equipment just to reach the source. If the water is coming through a ceiling, from inside a wall, from a water heater, or from a place you cannot identify quickly, the safer first-day decision may be to shut off water and call a plumber or restoration professional.
For rain entering through the roof, do not climb onto a wet or storm-damaged surface. Move belongings away from the drip, place a container beneath it when safe, and call a roofing professional.
Stopping the source comes before cleaning. There is little value in drying the floor while more water is still entering the room.
Document the damage before cleanup
The natural impulse is to grab a mop and make the room look normal again. Take a few minutes to create a record first, provided it is safe to remain in the area.
The Insurance Information Institute recommends contacting your agent or insurance company and asking practical claim questions, including whether this kind of damage may be covered under your policy, what deadlines apply, what deductible may apply, how long processing may take, and whether estimates are needed. It also recommends taking reasonable temporary steps to protect the property from further damage and saving receipts.
Before cleanup, capture:
- photos and short videos of where the water started or appeared;
- wide shots that show the room and affected area;
- close shots of wet flooring, walls, cabinets, furniture, or belongings;
- the apparent source, such as a pipe, appliance, fixture, ceiling stain, or shutoff valve;
- standing water and visible water lines;
- model and serial numbers on affected appliances;
- date and time notes;
- who you called and when;
- receipts for towels, fans, pumps, tarps, plumbers, restoration visits, or temporary materials.
Start with wide photos that establish the room, then take close-ups of specific damage. Record a slow video walkthrough and describe what you are seeing. Write down when you discovered the leak, what you did to stop it, and whom you contacted.
Do not throw away damaged materials or belongings until they have been photographed and you have checked whether the insurer, landlord, HOA, warranty provider, or repair professional needs to inspect them.
If floodwater is involved, the National Flood Insurance Program’s recovery checklist also emphasizes documenting damage before cleanup. Flood claims and ordinary homeowners insurance claims are not the same thing, so treat flood guidance as a separate track rather than assuming it applies to every leak.
Contact your insurer before major remediation
Once the water is stopped and you have taken initial photos, this may be the right time to contact your insurance company, especially if water has reached drywall, flooring, insulation, cabinets, electrical components, or more than one room.
Calling does not guarantee the loss is covered. It can help you understand the process before you approve expensive demolition, drying, or reconstruction. If you need a broader primer, read AHA’s guide to understanding water damage coverage. Ask coverage questions; do not assume the answer either way.
On the first call, use AHA’s Homeowners Insurance Claim Toolkit as a companion checklist, and ask:
- Should professional water extraction begin now?
- Does an adjuster need to inspect before drywall, flooring, or insulation is removed?
- What photos, videos, inventories, receipts, estimates, or moisture readings do you need?
- What deadlines apply?
- What deductible may apply?
- Should I get repair estimates?
- Which emergency expenses should I track?
- Are temporary repairs allowed or expected?
- Should I wait before making permanent repairs?
- What is my claim number, and who is my main contact?
Write down the representative’s name, the date and time, and the instructions you receive. Ask for important directions or approvals in writing.
When the damage may be too small for a claim
Not every leak needs to become an insurance claim.
Check your deductible and make a reasonable estimate of the cleanup and repair cost. A small leak that affected only a limited, easily dried area may cost less to repair than the deductible. That does not mean you should hide damage or ignore policy requirements; it means the first-day decision should include a practical cost and documentation check.
It is especially worth contacting your insurer or agent early when:
- water entered walls, ceilings, flooring, insulation, or cabinets;
- water affected more than one room;
- you may need professional extraction or drying;
- water reached electrical equipment or major systems;
- the home may not be safe to occupy;
- you cannot estimate the final cost yet;
- floodwater, sewage, or another contaminated source may be part of the leak.
Coverage depends on the cause of the loss and your policy language. Keep the conversation question-based: what is covered, what is excluded, what deadlines apply, what documentation is needed, and what work should wait for inspection.
Condo or townhome? Contact the association, too
When water comes from a neighboring unit or a shared building system, notify your insurer and the homeowners association, condo association, or property manager promptly.
Start drying and protecting your home before everyone agrees on responsibility. Where the water started matters, but it is not the whole answer. Responsibility may also depend on what was damaged, what the association documents say, and which policy covers that part of the building. AHA also has a separate guide on who pays for water damage from a neighboring unit.
Use the same documentation you would for any other leak: photos, videos, incident details, emails, repair estimates, and drying records. Save the date and time of every report you make.
Make temporary repairs, but pause before permanent work
Once you document the damage, take reasonable steps to keep the situation from getting worse. Remove standing water when safe, move dry belongings, contain an active drip, arrange emergency drying, or use temporary materials to limit further damage.
Insurers often treat these protective steps differently from permanent repair. The Insurance Information Institute advises saving receipts for temporary repairs and not making extensive permanent repairs until the adjuster has assessed the damage.
Temporary mitigation is different from rebuilding. Removing water and setting up drying equipment may be urgent. Rebuilding walls, replacing flooring, or completing permanent construction usually is not a first-day decision. Ask your insurer what may be removed before an inspection and what documentation it needs.
Before signing with a restoration or repair company, ask for a written scope and itemized pricing. Confirm what work is urgent, what work is permanent, who authorized it, and what costs could remain your responsibility. Do not sign a contract, authorization, or benefits-related form under pressure if you do not understand it.
Begin safe water removal and drying
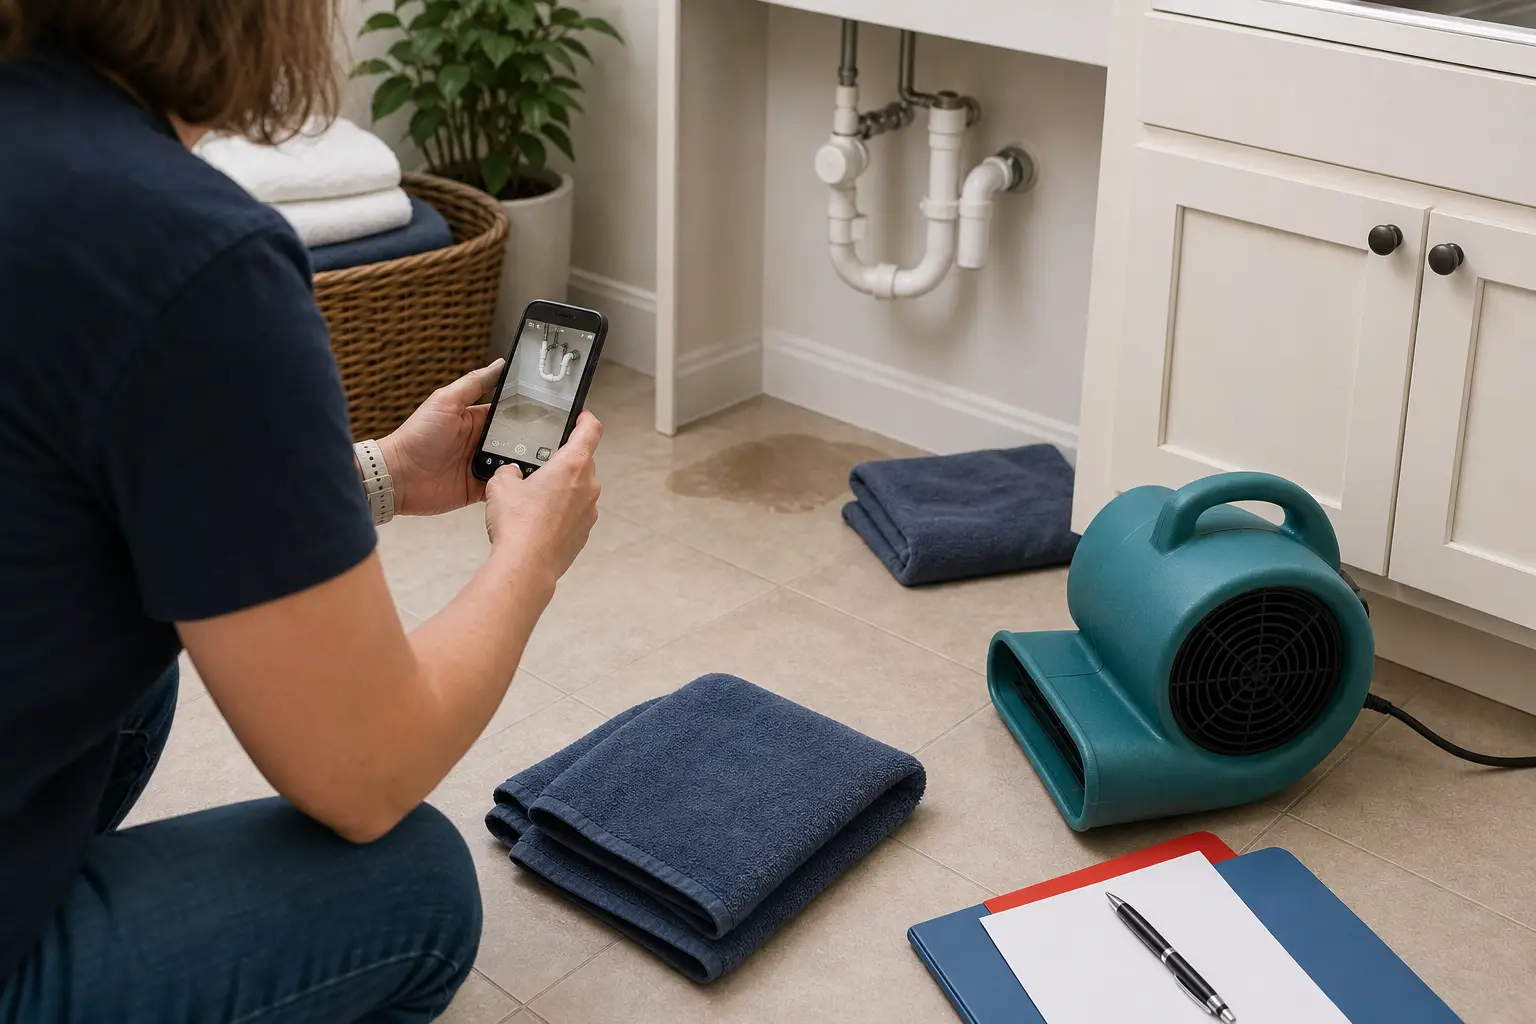
A small amount of clean water on a hard floor may be manageable with towels, a mop, or a wet vacuum specifically rated for water pickup. A larger leak, or one that has soaked carpet, drywall, cabinets, insulation, or flooring, usually needs more than surface cleanup.
Once you stop the source and confirm the area is electrically safe:
- Move dry belongings away from the affected area.
- Lift curtains, rugs, and furniture off wet surfaces if you can do so safely.
- Remove standing water with appropriate equipment.
- Open interior doors and cabinets to improve airflow.
- Use dehumidifiers to reduce moisture.
- Use fans only when the water is clean and airflow will not spread contamination.
- Keep damp items separated from dry items.
The goal is not to make the room merely look dry. Water can travel beneath flooring, behind baseboards, through insulation, and into wall cavities.
CDC disaster cleanup guidance says to dry the home and everything in it as quickly as possible when safe, and it frames 24 to 48 hours as an important window after storm or flood conditions. For an ordinary household leak, use that as a practical reason to act promptly, not as a promise that every material is fine if it dries fast.
A restoration company should be able to explain where it found moisture, how drying progress will be measured, and when materials have reached an acceptable condition. Ask for the initial and final moisture readings.
Know when the water may be contaminated
Where the water came from changes what safe cleanup looks like.
A supply-line leak is different from water that backed up through a drain or entered from outdoors. Even water that began clean can collect contaminants after moving through carpeting, insulation, ceilings, or dirty wall cavities.
Use greater caution when the source involves:
- a toilet or sewer line;
- a sink, bathtub, or floor-drain backup;
- dirty water from a dishwasher;
- outdoor flooding;
- water that passed through contaminated materials;
- an unknown source.
When sewage, outdoor floodwater, or another contaminated source is involved, bring in a restoration company experienced with contaminated-water cleanup rather than relying on household fans and cleaning products.
Be careful with mold advice
Water leaks and mold are connected, but mold guidance needs care. The CDC’s mold cleanup guidance says mold cleanup can involve health and injury risks, and that people with allergies, immune suppression, underlying lung disease, asthma, COPD, or weakened immune systems should not take part in mold cleanup.
That does not mean every small leak becomes a mold emergency. It does mean you should take moisture seriously and avoid casual cleanup if the affected area is large, hidden, contaminated, or risky for someone in your household.
CDC guidance says cleanup may involve protective equipment such as an N95 respirator, gloves, and eye protection. It also warns not to mix bleach with ammonia or other cleansers. EPA mold and moisture guidance is a useful homeowner reference for understanding why moisture control matters, but it should not replace professional remediation or medical advice when the situation is larger or health-sensitive.
Who to call after a water leak
One leak can involve more than one problem. A plumber may stop the source, while a restoration company handles the moisture left behind.
For leaking pipes, fixtures, water heaters, supply lines, or drains, call a plumber.
If a dishwasher, washing machine, refrigerator, or another appliance appears responsible, contact an appliance technician.
When rain enters near shingles, flashing, vents, skylights, or the chimney, call a roofer.
Bring in an electrician when water has reached outlets, fixtures, wiring, appliances, or the service panel.
Use a water-damage restoration company when water has spread widely, soaked porous materials, entered concealed cavities, or cannot be dried quickly with household equipment.
Ask a structural professional or local building official to assess floors, walls, or ceilings that appear unstable.
Ask each company for a written scope and itemized pricing. For permanent work, confirm licensing, insurance, applicable permits, payment terms, and warranties before work begins. Requirements can vary by location and project type, so do not assume every contractor or repair path follows the same rules.
Watch for hidden damage over the next few days
Even after the visible water is gone, continue checking the area.
A room may look dry but still smell faintly earthy, feel cooler near one wall, or show a baseboard seam beginning to swell.
Look and smell for:
- soft or swollen drywall;
- bubbling or peeling paint;
- warped flooring or separating seams;
- swollen trim or cabinet panels;
- stains that continue to spread;
- persistent dampness;
- musty or earthy odors;
- visible mold;
- flickering lights or repeatedly tripped breakers.
Moisture meters and thermal imaging can help professionals locate damp areas that are not obvious from the surface. Do not close walls, install new flooring, or paint over stains until the source has been repaired and underlying materials are dry.
What not to do after a water leak
The first day is also about avoiding decisions that make later repair, safety, or documentation harder.
Avoid:
- entering standing water when electricity may be involved;
- turning wet electrical systems back on before inspection;
- using an ordinary household vacuum to pick up water;
- aiming fans at sewage or contaminated materials;
- throwing away damaged property before documenting it;
- painting over stains before the area is dry;
- assuming a surface is dry because it feels dry;
- approving major demolition without understanding the scope;
- making large permanent repairs before insurer or adjuster instructions are clear;
- assuming floodwater and ordinary household leaks follow the same insurance path;
- mixing cleaning products;
- signing a repair contract or authorization form under pressure.
You do not need to rebuild the room on the day you discover the leak. The immediate job is to stabilize, document, and dry the home. Permanent decisions can follow once the cause, moisture extent, and insurance process are clearer.
Reading this before a leak? Prepare now
If you are reading this before a leak, the best step is to make the first 10 minutes easier before they happen.
Know where the main water shutoff is. Add the shutoff location to your household emergency notes and show every adult in the home how to use it.
Prevention also means checking visible supply lines for corrosion or bulging, looking beneath sinks and appliances, and handling small drips before water has a chance to spread.
If you are considering leak sensors or automatic shutoff equipment, ask your insurer, plumber, or qualified installer what is appropriate for your home before buying anything. AHA’s guide to smart-home rebates and insurance perks can help you frame the questions, but do not assume a device will qualify for an insurance discount, rebate, or incentive unless the program is confirmed for your policy and location.
What to do in the first 24 hours
Use this as the first day in plain order.
First 10 minutes: Keep everyone away from electrical, structural, or contamination hazards. Stop the water if you can do so safely.
First hour: Move people, pets, and dry belongings away. Photograph the source, water path, and affected areas. Call the professional needed to stop the leak.
After the initial damage is documented: Contact your insurer when the loss may require significant remediation, repairs, or temporary housing. Ask whether an inspection is needed and what work should wait.
Same day: Begin safe water removal and drying. Save receipts, contracts, moisture readings, and claim communications.
Next 24 to 72 hours: Confirm that hidden materials are drying, watch for odors or visible changes, review the remediation scope, and begin gathering permanent-repair estimates when appropriate.
A leak can make your whole house feel out of control. Bring the moment back down to five steps: make it safe, stop the source, document the damage, contact the right people, and start drying.
You do not need every answer today. You just need the next sound step.
The bottom line
After a water leak, the first 24 hours are about order, not panic. Safety comes first. Then stop or contain the water, document what happened, dry what can be dried safely, and make the calls that fit the situation.
If anything feels electrically unsafe, contaminated, hidden, widespread, or beyond a small surface cleanup, step back and get qualified help. A calm first day will not solve every repair, but it can keep the next decision from being harder than it needs to be.