

You hear the toilet refilling after everyone has gone to bed. Or you turn off the kitchen faucet, walk away, and hear another drip. Something needs attention, but you’re not sure whether to reach for a tool, look up a part, or call someone.
You don’t have to know how to fix every fixture to take good care of your home. Many common home repairs begin with a useful observation: where the water is appearing, when the light flickered, or exactly where you feel a draft.
This guide covers five familiar household problems and the first checks that can help you choose what to do next. You’ll learn when manufacturer-specific instructions matter, what information to bring to a professional, and how to avoid turning a small question into a repair you’re not prepared to handle.
How Much Should You Be Setting Aside for Home Repairs & Maintenance?
Even a well-maintained home needs occasional attention. Having money set aside for repairs can give you more room to make decisions when something stops working.
If you’re building that cushion, AHA’s Home Repair Reserve Calculator offers a planning starting point using details about your home and major systems. Treat the result as an estimate to revisit as you learn more about your home—not a quote for the problem in front of you or a guarantee that every expense is covered.
For a specific repair, the first useful step is understanding what needs attention. You can plan the budget more meaningfully once the work is defined.
Why Staying on Top of Repairs Matters
It’s easy to put off a dripping faucet when the sink still works, or get used to the chilly spot beside a window. The symptom becomes part of the background.
But the location matters. Water dripping from a spout into the sink is a different observation from water collecting inside the cabinet. A cold room and a visible gap beside a window don’t tell you exactly the same thing, either.
Paying attention helps you describe the problem before choosing a fix. You don’t need to inspect the whole house every weekend. Start with the thing you’ve already noticed and ask: What can I check without taking anything apart, and what will that check tell me?
A clear description is useful progress, even when the next step is asking for help.
Common Home Repairs Homeowners Often Deal With
Every house is different. This guide focuses on five familiar problems you may notice around yours:
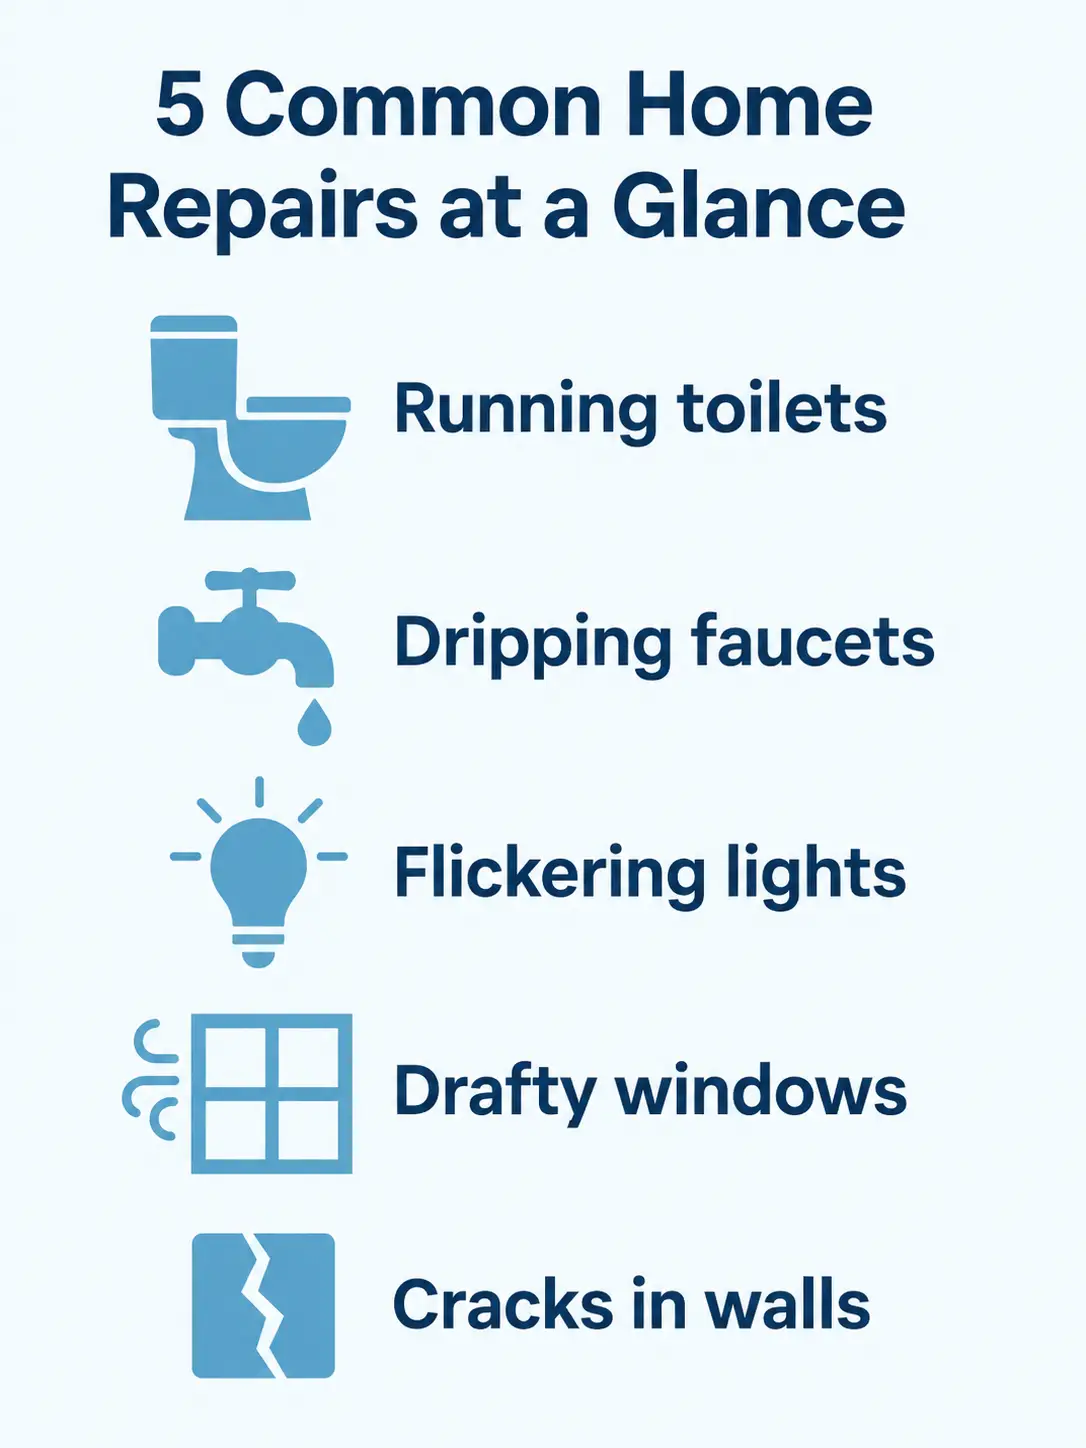
- Running toilets: Refill sounds or suspected leakage from the tank into the bowl.
- Dripping faucets: Water from the spout, around the fixture, or beneath the sink.
- Flickering lights: A symptom to describe to a licensed electrician rather than diagnose by trial and error.
- Drafty windows and doors: A place to look for visible gaps or damaged weatherstripping.
- Wall or ceiling cracks: A reason to note what you’ve seen and decide whether assessment should come before patching.
The first response is simple: notice what’s happening, make an appropriate limited check, then choose the next step. The sections below explain where each check helps and where professional or manufacturer guidance belongs.
Common Household Problems and What to Do
Running Toilets
Hear that familiar refill sound long after someone used the bathroom? It can leave you wondering whether water is moving from the tank into the bowl, even though the floor looks dry.
That is a useful question to investigate. It doesn’t tell you which part failed. A flapper—the seal used in some toilets to hold tank water until flushing—is one possible source of leakage, but don’t assume every toilet uses the same mechanism or replacement part.
Step-by-Step: Start With a Leak Check
- Look for water outside the toilet. Water reaching the floor or surrounding materials calls for a different response. Use AHA’s first-24-hours water-leak guide for that situation.
- Check whether the dye test fits your toilet. Use it only with an accessible conventional gravity tank containing visible water. If the setup is unfamiliar or contains an enclosed pressure-assist mechanism, skip it and contact the manufacturer or a plumber. Don’t open enclosed mechanisms.
- Follow the complete dye check. EPA WaterSense recommends adding a few drops of food coloring to the tank. Wait ten minutes without flushing and look for color in the bowl. Flush immediately afterward to avoid staining.
- Use the result to choose the next question. Color in the bowl indicates a leak; it doesn’t identify the failed part. Find the toilet model and its repair guidance before buying a replacement. A negative check doesn’t resolve every possible cause of refill sounds.
Pro Tip: Photograph any model identification already visible without dismantling the toilet. Keep it with your observation or test result so you can give the manufacturer or plumber something specific to work with.
When to Call a Plumber: If you’re unsure how the toilet works, can’t identify the appropriate instructions, or the symptom continues after a manufacturer-directed repair, ask for help rather than moving through a series of guessed part replacements.
Watch: Fix a Running Toilet: Fill Valve Replacement — Home Repair Tutor. This demonstration shows a particular fill-valve installation. The dye check above doesn’t establish that your fill valve needs replacing; confirm the diagnosis and model-specific instructions first.
Dripping Faucets
Drip, drip, drip. A faucet has a way of becoming more noticeable when the rest of the kitchen is quiet.
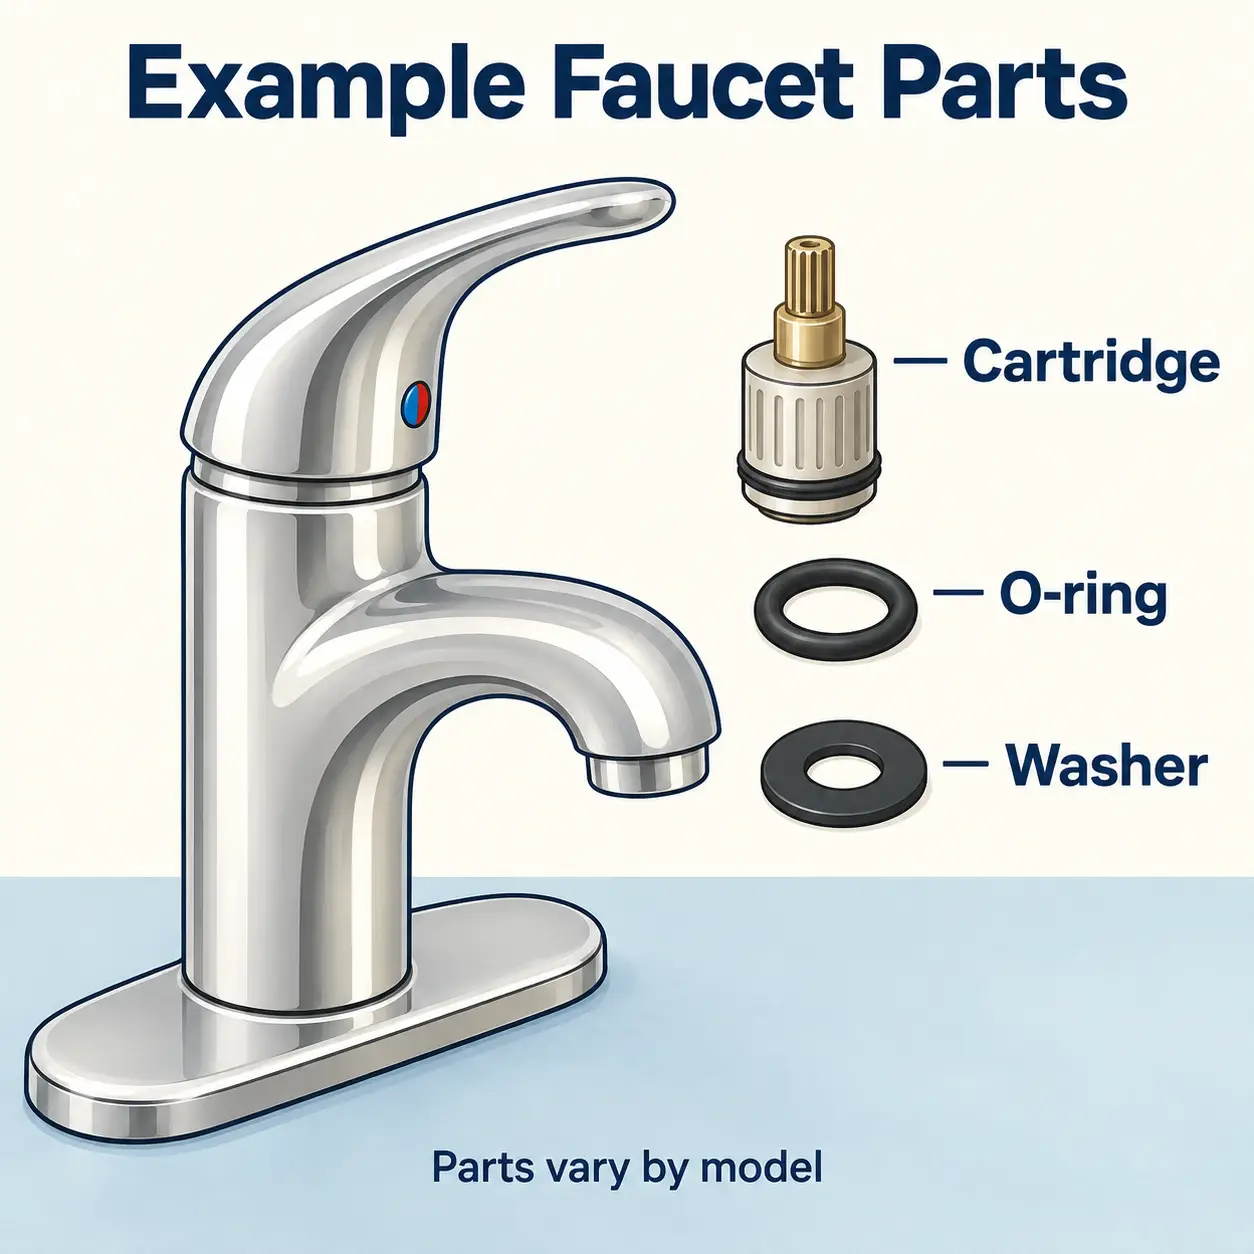
Suppose you close the handle, but drops keep falling from the spout. Before deciding it needs a new washer, describe where the water is appearing. A spout drip, water around the base, and a leak beneath the sink are different observations to report.
Parts can be model-specific and aren’t necessarily interchangeable, even within one manufacturer’s products. Identifying the faucet is more useful than buying something that looks familiar.
Step-by-Step: Identify the Fixture and the Leak
- Note the location. Look where you can safely see whether water is coming from the spout, around the fixture, or beneath the sink. You don’t need to loosen fittings to make the description more precise.
- Find the product information. Use the owner’s manual, purchase records, visible identification, or manufacturer support to establish the model.
- Choose the applicable repair guidance. Before disassembly, confirm that the instructions and parts match your faucet. If you can’t identify it or don’t feel comfortable with the procedure, ask a plumber to assess it.
Pro Tip: A photo of the whole faucet and the visible leak location can make a service or parts conversation easier. You don’t need to take the fixture apart to collect useful information.
Water collecting in the cabinet or room deserves attention beyond a simple spout-drip question. Tell the plumber where you found it rather than assuming that replacing a washer will solve the problem.
Watch: How to Repair a Leaking Faucet — This Old House.
Additional Video: How to Repair a Leaky Kitchen Faucet — Ask This Old House.
The demonstrations show different faucet mechanisms, including a washer-and-seat assembly and a ball-style kitchen faucet. They help explain why matching the parts and instructions to your fixture matters; neither is a universal repair sequence.
Flickering Lights
A light flickers, then does it again. Is it the bulb, the fixture, or something else? You don’t have to answer that question before calling an electrician.
The Electrical Safety Foundation International’s home wiring guidance lists dimming or flickering lights among electrical warning signs and recommends inspection by a licensed electrician when these signs appear.
Step-by-Step: Give the Electrician Useful Context
- Describe the pattern you’ve already noticed. Was it one fixture, one room, or several areas? Mention what was happening at the time.
- Report other observed signs. Repeated breaker trips, sparks, unusual buzzing, discoloration, or an odor of hot insulation are relevant details. Don’t touch equipment to test for heat.
- Arrange qualified inspection. Don’t deliberately switch equipment on and off to recreate the symptom or open fixtures and outlets to look for a cause.
Watch Out: Flickering shouldn’t become a wiring experiment. Removing covers, tightening connections, and replacing switches go beyond the first checks in this guide.
A clear description helps start the conversation. You don’t need to prove a diagnosis before asking for an inspection.
Watch: How to Fix Flickering Lights in Your House — Ask This Old House. Use the electrician’s demonstration to understand the conversation. Only attempt the electrical work shown if you have the knowledge, practical experience, and tools to do that specific job safely. Check local rules and any permit or inspection requirements before starting. If you’re unsure about the procedure or what’s causing the flickering, call a licensed electrician.
Drafty Windows

If the chair beside the window feels chilly while the rest of the room is comfortable, you have a specific place to look. You don’t yet have a reason to choose a sealing product or replace the window.
Visible gaps and damaged weatherstripping—the material that seals around moving windows or doors—can help focus that next decision. The aim is to identify what needs attention before applying a product everywhere air might be moving.
Step-by-Step: Look Before Choosing a Sealing Product
- Locate the accessible area. Note where you feel the draft, such as the bottom of a door or a particular window edge. Don’t use smoke or flame to hunt for leaks.
- Inspect the visible seals. Look for gaps and weatherstripping that appears damaged or doesn’t fit properly. Keep the check to areas you can see safely; don’t extend it to electrical openings.
- Check the manufacturer’s guidance. Match any proposed product and application to that window or door. If you can’t tell whether an opening has a purpose, get advice before sealing it.
Colorado State University Extension’s air-sealing guidance, written for Colorado homes, emphasizes manufacturer instructions and preserving ventilation and combustion air—the air fuel-burning appliances need.
That makes the boundary practical: a visible gap is a clue, not permission to seal every opening. Substantial air sealing or uncertainty about ventilation calls for professional guidance.
Watch: Window Air Sealing Techniques — Ask This Old House. The demonstration goes beyond a visual check and includes work around window trim. Confirm what fits your window and preserves ventilation before choosing a method; seek help for work beyond your experience.
Wall Cracks
Few household discoveries invite a longer stare than a crack you don’t remember seeing before. You may have noticed it while moving a picture and immediately wondered what is happening behind the wall.
Its appearance alone doesn’t establish the cause. A photograph, width, or shape isn’t enough to declare it cosmetic or safe to patch.
Step-by-Step: Record What You Can See
- Note the location and timing. Write down where the crack is and when you first noticed it. Include changes you’ve already observed.
- Document from a safe position. Take a dated photo and note other visible damage, such as stains or loose wall material. Don’t probe or remove material to investigate.
- Choose assessment before patching when you’re unsure. A qualified professional can help determine what needs attention. You don’t have to name the cause to request that help.
Keeping the photo and note together makes the conversation more specific. It also gives you a reference if you notice a change later; it isn’t a reason to postpone assessment when you have concerns.
Watch: How to Fix Cracks in Drywall — Sherwin-Williams. This video illustrates surface repair, not diagnosis. Watch it for finishing context only after the cause has been assessed and surface repair is appropriate; don’t use it to decide whether a crack is cosmetic.
Troubleshooting Tools Every Homeowner Should Have
You don’t need a garage full of equipment to take a useful first look. For the checks in this guide, a flashlight, a phone for photos and notes, and accessible product information are often the useful starting points. The toilet dye check also calls for food coloring if it suits your fixture.
For ordinary household maintenance, build a toolkit around jobs you actually expect to do:
- Flashlight: For seeing in a dim cupboard or another accessible area.
- Measuring tape: For measuring spaces or comparing dimensions specified in product instructions.
- Screwdrivers: For ordinary hardware such as cabinet pulls; owning one doesn’t make electrical work a beginner task.
- Pliers and an adjustable wrench: For suitable gripping and turning tasks when the job’s instructions call for them.
- Task-appropriate eye protection: Chosen for the hazard and the tool instructions.
Start with what you already own. AHA’s Tools Every Homeowner Should Have: A Practical Starter Kit can help you choose manageable basics and add equipment as real projects come along.
Before buying a specialized tool, define the job. If hiring is the next step, the SmartHire Contractor Kit offers questions and materials for comparing proposed scopes of work.
When you notice a change in your home, keep one short note: where it is, when it started, and what you’ve already checked. That is enough to begin a more useful conversation without creating another complicated maintenance assignment.
Conclusion: Know What to Check and What to Do Next
Homeownership comes with surprises, but the first decision doesn’t have to be the whole repair plan.
A toilet check may give you a better question for the manufacturer. Identifying a faucet may help you find the right instructions. Electrical warning signs belong with a licensed electrician, and an uncertain wall crack deserves assessment before it’s covered up.
Choose the section that fits what you’ve noticed and take its first appropriate step. If that step doesn’t fit your fixture or situation, bring your observation to someone qualified to help.
You don’t have to become an expert in everything inside your house. Knowing what you’ve noticed—and when to ask for help—is a practical way to take care of your home.