
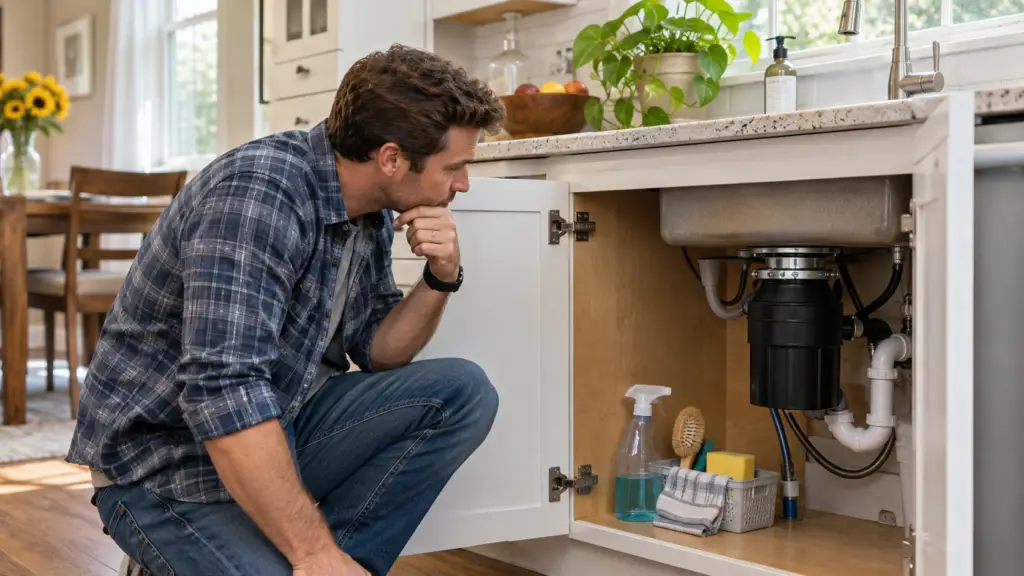
From a silent disposal to a garage door that won’t close, a few well-chosen checks can help you decide what to do next.
You flip the garbage disposal switch. Nothing happens. Now you’re wondering whether you need a plumber, a new disposal, or both.
Before jumping to that conclusion, it helps to know a few simple home fixes—and when a “fix” is really just a safe first check. A caught chain, a tripped protective device or an object in a sensor’s path may explain what you’re seeing. But a clue isn’t a diagnosis.
You don’t need to become a repair expert to choose the next step. These five examples explain what to look for, how your model’s instructions affect the check, and when to stop and get help. Sometimes that’s enough to avoid a repair call; sometimes it helps you make a better-informed one.
1. Garbage Disposal Won’t Turn On? Check Its Reset Instructions.
An unresponsive disposal doesn’t automatically mean a failed motor. Its overload protection may have shut it down. For a model with a manual reset, the answer may involve a small red button you’ve never noticed beneath the sink.
The simple fix: Before checking it, turn the disposal switch off. If there’s electrical damage or a burning smell, leave it alone and get qualified help rather than attempting a reset. Never put your hand inside the disposal.
Otherwise, find your model’s reset instructions, allow the motor to cool as directed, and follow the specified reset and restart procedure. InSinkErator’s disposal-reset guidance distinguishes manual-reset models from its EZ Connect family, which uses automatic overload protection. There isn’t one cooling interval or button procedure that fits every disposal, so the unit’s age isn’t a reliable guide.
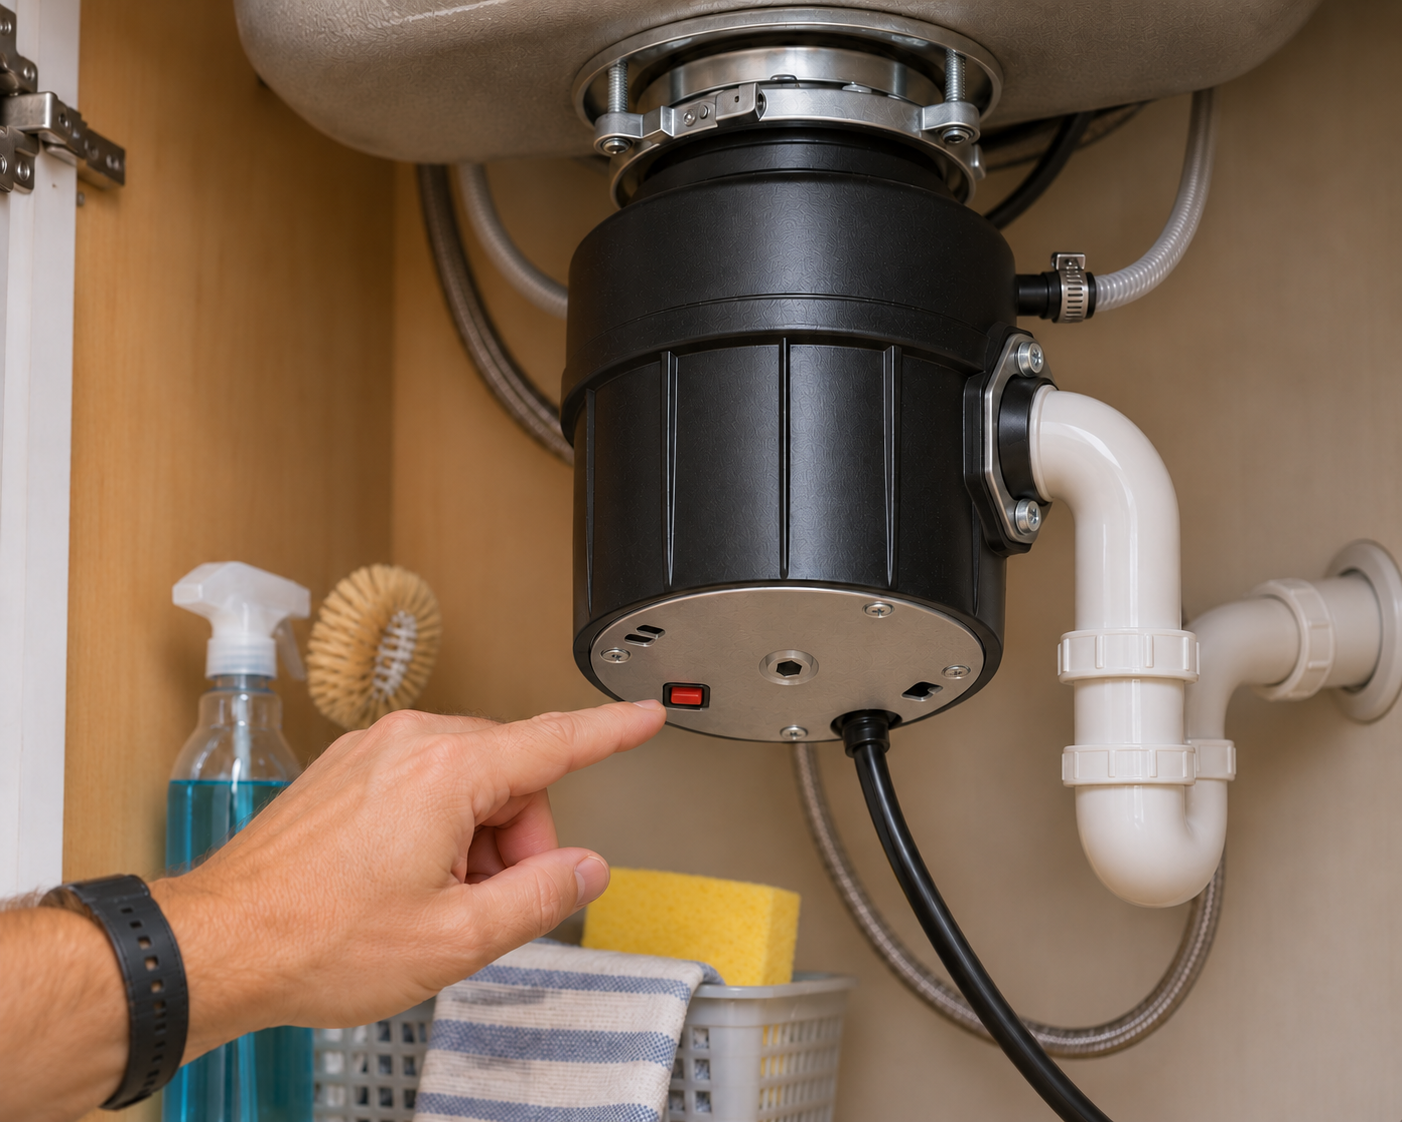
A humming disposal that doesn’t turn presents a different clue: it may be jammed. Switch it off rather than repeatedly trying to run or reset it. Clearing a jam goes beyond this first check. If the disposal won’t restart, keeps shutting down or continues to hum, leave it off and arrange professional help.
2. Electrical Outlet Stopped Working? Another Outlet May Explain Why.
You plug in a lamp or phone charger, but nothing happens. The outlet looks ordinary—there isn’t even a reset button to try.
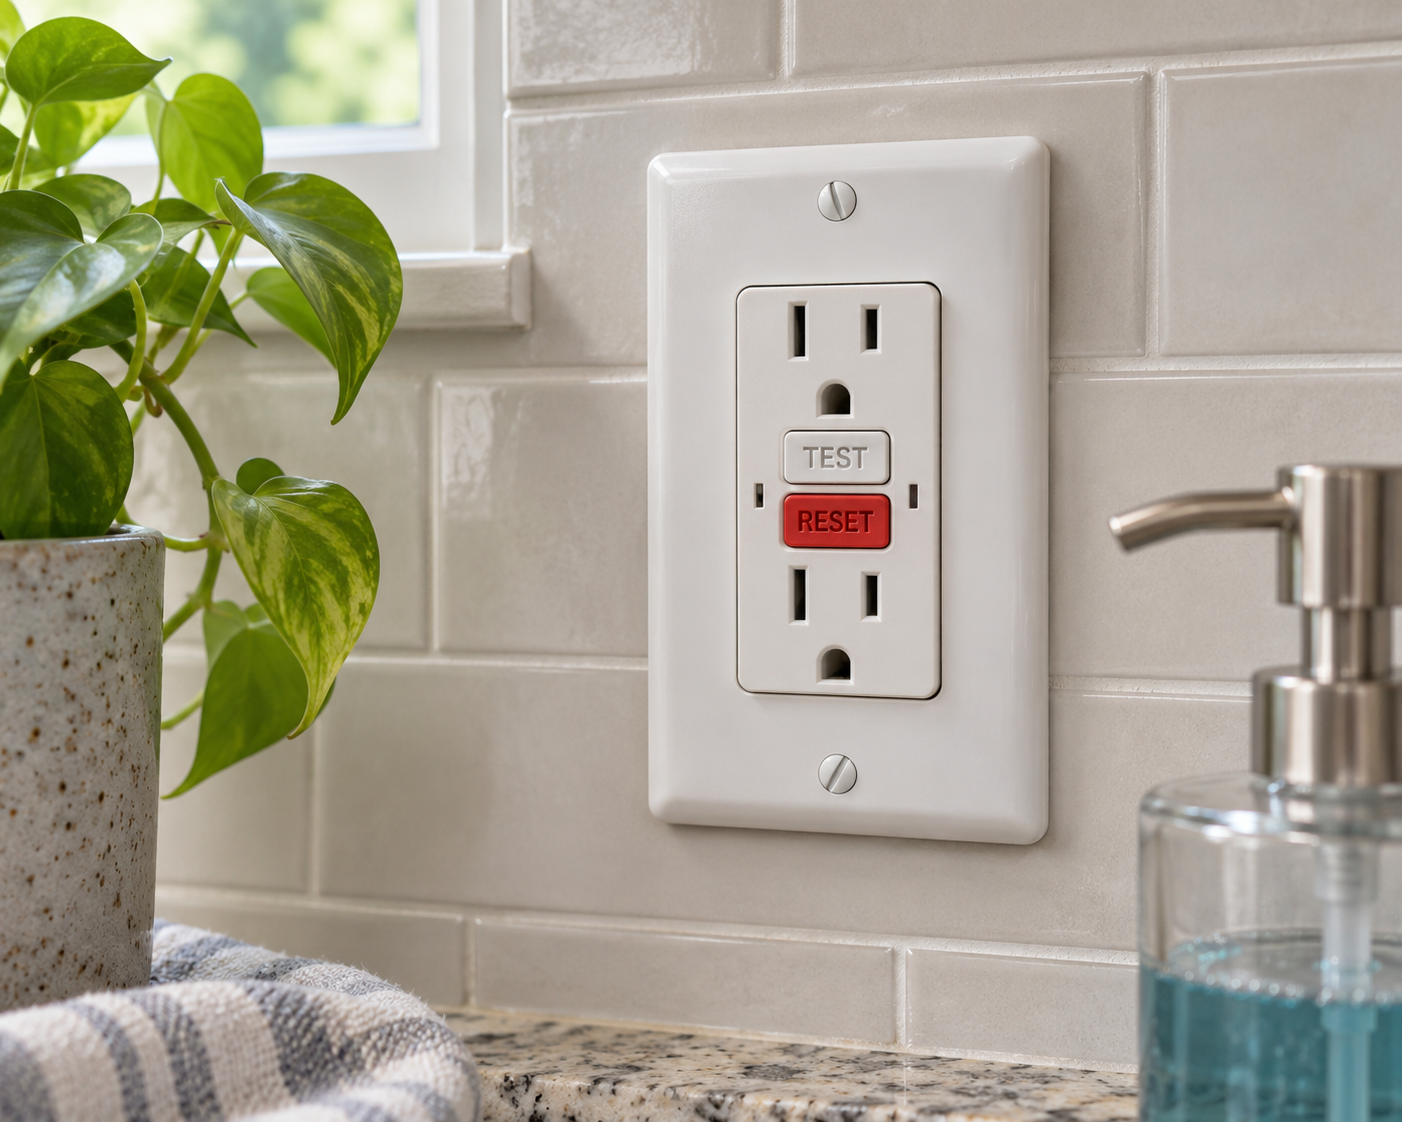
A ground-fault circuit interrupter, or GFCI, elsewhere may be involved. A GFCI can protect its own receptacle and other outlets wired downstream, meaning outlets connected to its protected side. When it trips, those outlets can lose power too. That doesn’t mean every outlet sharing a circuit has this protection.
Watch Out: Leave electrical equipment alone and get qualified help if you notice damage, discoloration, sparks, a hot outlet or a burning smell. Don’t try another device or a reset. Recurring trips also need an electrician’s attention.
The simple fix: If the area is dry and there are no warning signs, unplug devices from the affected outlet and any safely identifiable downstream outlets. Look for the GFCI protecting them, then follow its manufacturer’s reset instructions. Leviton’s guidance on a tripped GFCI explains why connected devices matter when checking the problem.
If it won’t reset, trips again or leaves the outlet without power, stop and contact an electrician. An unsuccessful reset doesn’t prove the GFCI itself is defective; a lack of incoming power can also prevent resetting. You don’t need to sort out wiring or open an electrical panel to make a useful first observation.
3. Toilet Keeps Running? Watch What Happens Inside the Tank.
You flush and walk away, but the sound of running water follows you. Perhaps jiggling the handle stops it. Or the toilet goes quiet, then refills later when nobody has used it.
Those patterns can point to different problems. In a chain-operated toilet, the handle lifts a flapper or canister mechanism to release water into the bowl. The flush seal then closes while the tank refills. A caught chain can keep that seal partly open; a worn or poorly seated seal can also let water escape.
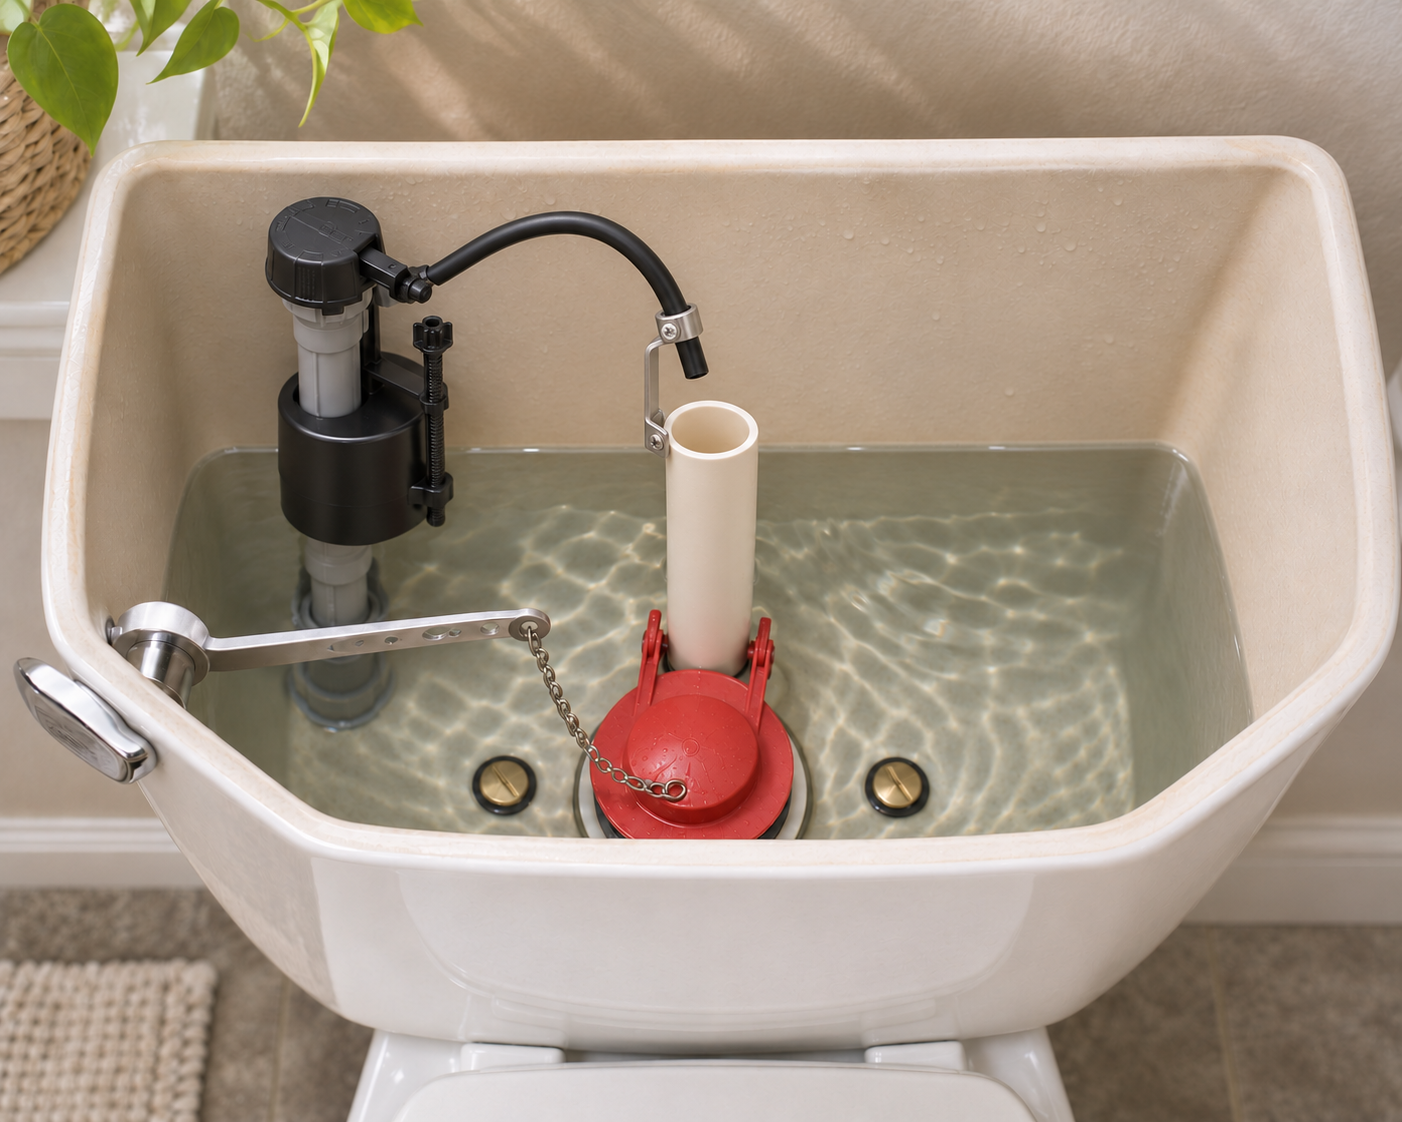
The simple fix: Carefully lift the tank lid and set it somewhere secure. Watch a flush without forcing or taking apart unfamiliar components. If a chain is plainly caught and you can gently free it without disassembly, that may allow the seal to close. Follow the model’s instructions for any chain-length, float or other simple adjustment rather than guessing.
Also notice where the water is going. Water flowing from the small refill hose into the overflow tube during refilling is normal. That is different from the tank filling too high and spilling over the top of the overflow tube, which can point to a water-level or fill-valve problem.
A toilet that periodically refills without a flush may be losing water through a seal. Refill-tube arrangements also vary, so don’t reposition a tube simply because it appears to extend into another part.
If freeing an obvious caught chain or a manual-directed adjustment doesn’t resolve the running, describe what you observed to a plumber. Whether the tank overfills or quietly loses water is useful information—not something you have to diagnose yourself.
4. Washing Machine Won’t Drain? Check Whether Its Filter Is Accessible.
The cycle is finished, but your clothes are sitting in water. Perhaps the display shows an error code, leaving you wondering whether the pump has failed.
A clogged drain pump filter or a kinked drain hose can interfere with drainage. That makes them possible checks, not proof of what’s wrong with your washer.
The simple fix: Turn off and unplug the washer. If the drain hose is visible without moving the machine, look for an obvious kink. There’s no need to pull heavy equipment away from the wall or disconnect a hose for this initial inspection.
Next, consult the owner’s manual to find out whether your washer has a homeowner-accessible filter. Access arrangements differ; a procedure for one front-loader may not fit another washer.
Before removing an accessible filter, let hot wash water cool and drain the remaining water using the model’s prescribed method. On the front-load arrangement covered by LG’s drain-filter cleaning instructions, a small drain hose releases water before the filter comes out.
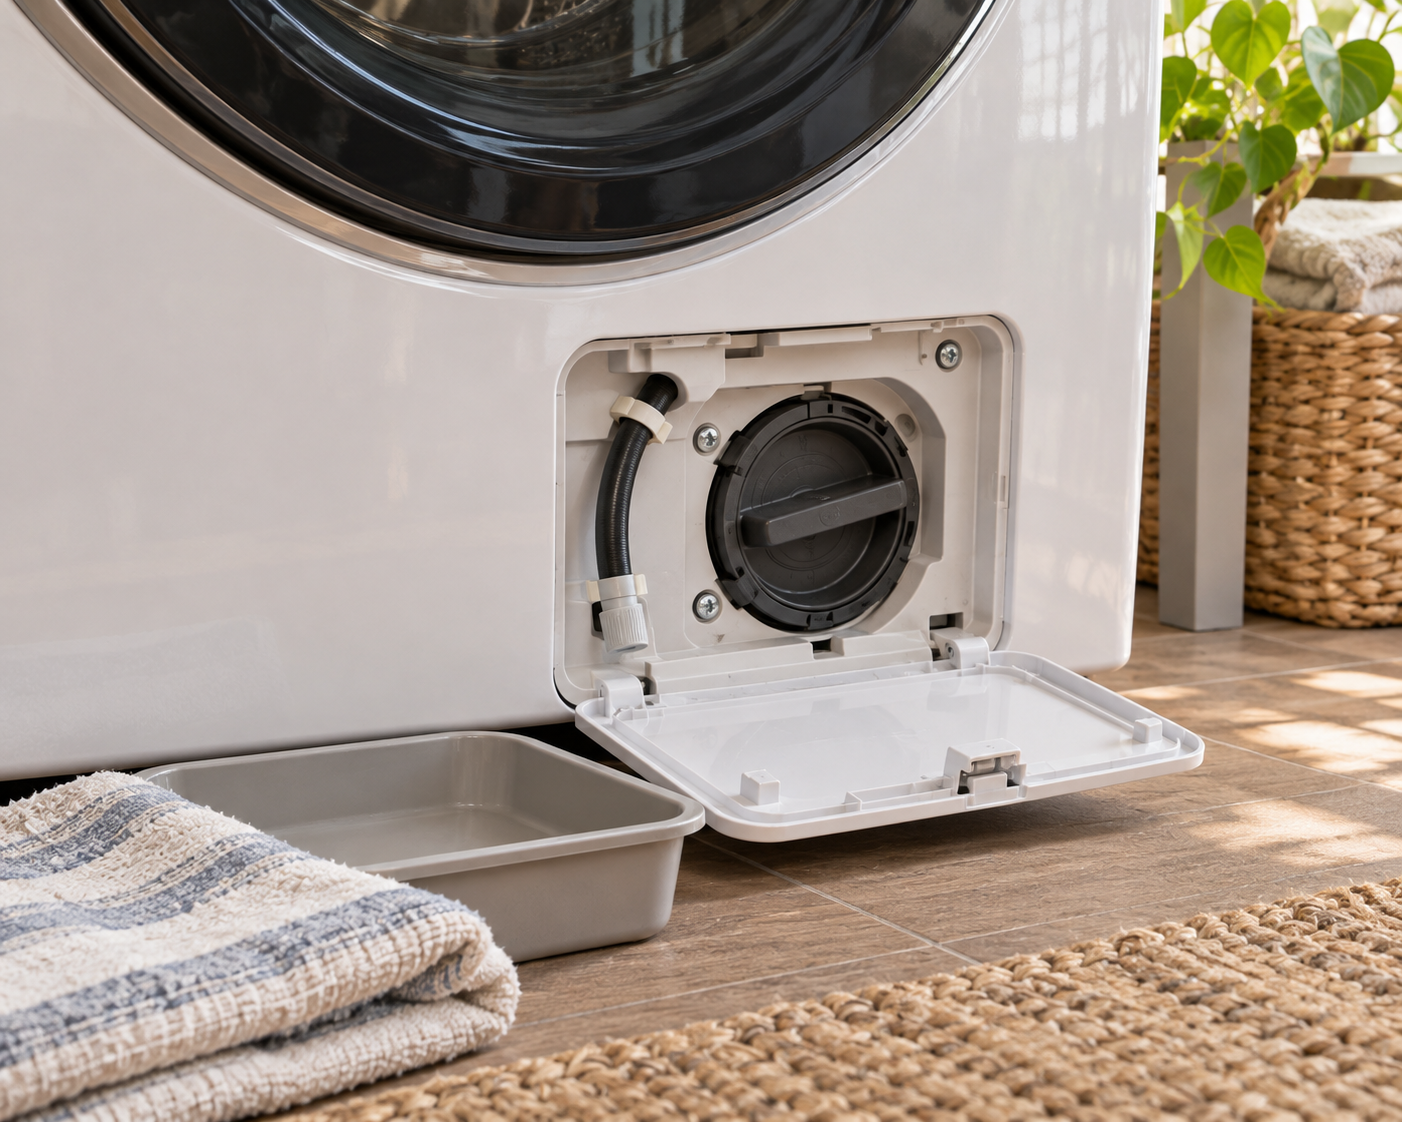
Use the manual’s directions to control that flow. A shallow pan may need emptying during draining; don’t assume it can hold all the water remaining in the drum. Only after controlled draining should you remove and clean the filter, then refit the parts as instructed.
If there’s no accessible filter, the procedure is unclear or the washer still won’t drain afterward, arrange appliance service. Opening an unfamiliar filter housing on a full washer isn’t the next step.
5. Garage Door Won’t Close? Check the Path and Safety Sensors.
You press the remote. The garage door starts down, then reverses. You were ready to leave; now you’re wondering whether the opener has failed.
If your opener uses paired photo-eye safety sensors, an interrupted beam can prevent closing. A bicycle tire, storage bin or fallen object may be in the way. Dirty lenses or misalignment can also interfere with the sensors.
First, stop and call a garage-door professional if the door moves unevenly or a spring or cable appears damaged. Those are not sensor-cleaning problems to work around.
The simple fix: Otherwise, with the door stationary, clear objects from the opening and the sensors’ line of sight. Locate the paired sensors near the bottom of the opening and gently wipe their lenses with a soft cloth.
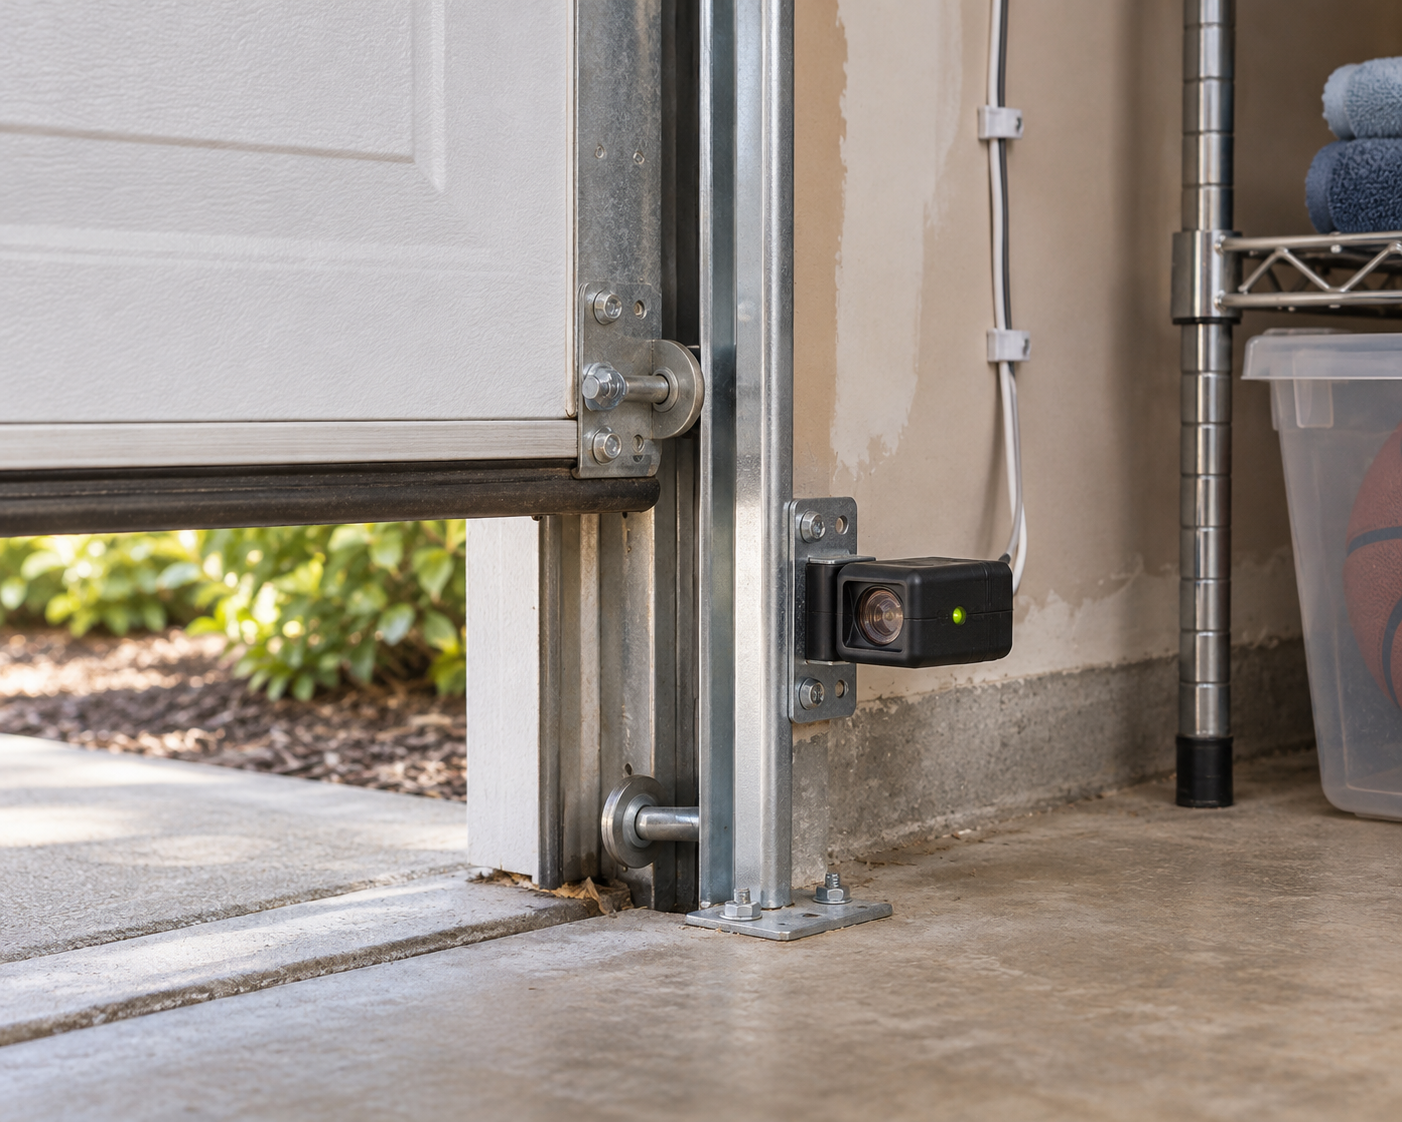
Indicator lights can help, but their colors and flashing patterns depend on the model. A light glowing on one sensor doesn’t, by itself, establish that the pair is working correctly.
Any alignment adjustment must follow the opener’s manual, including its required safety tests afterward. Keep people, pets and body parts out of the door’s path during testing. Chamberlain’s garage-door maintenance and safety guidance explains the importance of clear sensors and correct safety operation.
If you’re unsure how to adjust or test the system, the sensor problem remains unresolved or a test fails, stop using the opener and call a qualified garage-door professional. Never bypass the sensors, and leave springs, cables and other high-tension hardware to a professional.
You Don’t Have to Solve the Whole Problem
Choose the symptom that matches what’s happening in your home, find the model’s troubleshooting instructions, and decide whether the relevant first check is safe and comfortable for you. You don’t need to work through all five examples or turn an interrupted evening into a repair project. If several issues need attention, AHA’s guide to prioritizing home repairs can help you organize what to address first.
If the check doesn’t help, note what happened: the disposal hummed, the GFCI wouldn’t reset, or the toilet refilled without a flush. That gives you something concrete to explain when arranging help. Before booking a service call, see AHA’s questions to ask before hiring a contractor.
For other everyday symptoms, explore AHA’s guide to common home repairs. You don’t have to know every answer to take good care of your home—knowing your next step is enough.